If you have a home gym and are planning to move soon, you may be wondering what the best way is to make sure all that heavy, expensive equipment makes it to your new place in one piece — preferably without breaking any of your other stuff.
As a person who’s moved a home gym myself, I’ll go over how I organized, cleaned, and packed my gym for a move, plus give some advice on how to create the optimal space for your home gym at your new destination.
How To Pack Up and Move Home Gym Equipment
You may be wondering where to start when it comes to preparing, packing, and loading all of your home gym equipment. Well… it actually all starts with a pencil!
The five steps below will outline everything you need to make sure transporting your equipment goes as smoothly as your resistance training routine.
1. Take stock of your equipment (write it down!)
You should start any move of your gym by taking stock of your equipment.
Set all your stuff up in front of you, big or small, as though you plan to use every piece of it in a single day.
While it’s in front of you, take a measurement of how much space it takes up; you will need to arrange it in your new room, after all. (Here is when you should also note any pieces that have been gathering dust because you hardly use them.)
“…Google exercise equipment consignment businesses in your area to quickly sell big pieces, such as stationary bikes, treadmills and gym sets.”
Your next step will be to separate your equipment into two simple piles:
- Stuff you simply cannot do without
- Equipment you barely use or never use
Consider each piece and ask yourself how many times you’ve used it over the past month, or whether it’s worth the effort to clean, pack, lift, load, unpack, and set up again. If you don’t need it and love it, put it in the “get rid of” pile. Trust me, you want the smallest load possible if you want to save any money on your move.
2. Sell, donate, or toss unwanted equipment
If you want a little extra cash to offset those moving expenses (which includes how heavy your load is, aka how much mileage your U-Haul truck gets), Google exercise equipment consignment businesses in your area to quickly sell big pieces, such as stationary bikes, treadmills and gym sets.
Online marketplaces like Craigslist and Facebook can also be an efficient way to sell unused gym equipment if you have the time and know-how.

See prices for local moving labor. Read real customer reviews. Easily book your help online.
If selling isn’t up your alley, consider just donating it! Check your local charities/Goodwills to see if they could use any of your gently used gym equipment for their programs.
You definitely should throw out anything damaged and unusable. Check with your local recycling depot or landfill to see if they will take electronic equipment like treadmills and rowing machines.
3. Properly clean and sanitize so you don’t bring smells with you
The next step is to clean and sanitize your home gym equipment properly.
Bacteria can cover gym equipment, and even if it doesn’t make you physically ill, it can cause skin irritation and bad odors if not sanitized. Don’t bring that to your new place.
Always follow the manufacturer’s instructions, as some materials are very sensitive to harsh chemicals and can degrade. Remember that vinegar and bleach can damage rubber mats, resistance bands, and rubber parts like o-rings.
You can clean most of your equipment with a solution of warm water and a small amount of mild soap like Dawn Dishsoap or commercially available gym wipes like Wipex that are available on Amazon. Be very careful around computer equipment, like the digital displays on a Peloton Bike.
“Remember that vinegar and bleach can damage rubber mats, resistance bands, and rubber parts, like o-rings.”
Let everything dry completely before packing it up to prevent moisture damage, mold or mildew.
4. Pack gym equipment safely and securely (try stretch wrap)
Once everything is cleaned and dried, it’s time to pack!
Use painter’s tape to label what each item is and where it will go when unpacked. Painter’s tape is less likely to leave a sticky residue compared to duct or masking tape.
Zip-tie any loose cords so they are not tripping hazards while loaded. If you need to actually disassemble any equipment, keep all the parts together in a sandwich bag, and don’t forget to label that as well. If necessary, movers can also help with disassembly and/or reassembly.
For large equipment, use stretch wrap to immobilize moving parts like pedals or handles. This prevents any of your other possessions from getting caught and broken in between the part and the machine.
5. Load your equipment toward the back of your truck
If you don’t have a full-service move booked, then loading your equipment is all on you.
You need to ensure everything is secured so it doesn’t shift during transit. Packing your heavier and bigger items into a moving truck first ensures they don’t damage your other belongings. Your heaviest items should be at the front of the truck, near the driver’s cab, for optimal weight distribution. This will keep you safe on the road and improve gas mileage.
If you’re not keen on wrestling with your rowing machine, movers are pros at making sure your truck is loaded efficiently and securely. Hiring professionals to assist with this part might be a good idea if you’re nervous like I am.
Unloading and Re-installing Your Home Gym
You’ve gone through all your equipment, purged what you aren’t keeping, cleaned, and packed up the rest. Now it’s time to unload and set up your new space.
Here are some important things to consider before you carry the first dumbbell off the truck.
1. Figure out your new place’s floor situation
You may already have an idea of where you want your home gym to be in your new space. But it’s important to consider the constraints of the new room by its type of flooring.
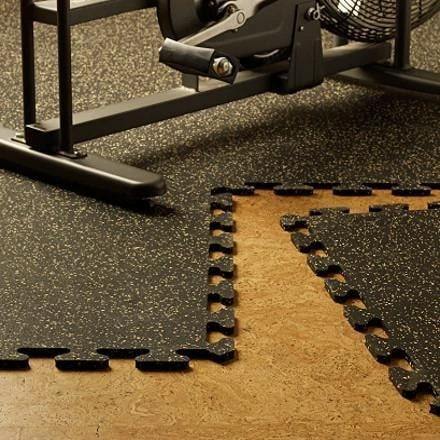
Thick carpeting can make weight lifting dangerous if it’s too soft, while bare concrete can increase the impact on sensitive joints. Other materials might be damaged by particularly heavy equipment or repeated impacts. In all cases, inexpensive gym flooring can make whatever you have to work with more ideal for your workout. You don’t want to go through all this work just to mess up your body and your floor!
2. Don’t forget to take measurements (including space for movement)
Before you unload, make sure you have measured the space you plan on using to be certain it will accommodate your home gym equipment. There’s nothing worse than spending energy hauling your treadmill to the basement just to find out it won’t fit!
A good old-fashioned measuring tape is all you need for this step. However, if you’re organizing more than one big piece of equipment, or you have many pieces of smaller equipment, downloading a design app lets you virtually place items in a size-accurate mockup of your new space before you even get your stuff there.
“…thick carpeting can make weight lifting dangerous if it’s too soft, while bare concrete can increase the impact on sensitive joints.”
Keep in mind a workout space isn’t just what will fit, but also what you’ll be doing. If your workouts usually involve a lot of arm or leg movements, like aerobics or jump rope, make sure you add that into your calculations. You don’t want to smack a weight against a wall and cause a dent in your brand new place, after all!
Moving far away?
Do it cheaper.
MovingPlace can save up to 40%, compared to traditional interstate moving companies. Click here to learn how.
3. Clean the space before you get there
Don’t wait until there are hundreds of pounds of an exercise bike and squat rack in the way; clean the flooring first because this will be your best chance to vacuum and scrub every corner.
If you’re installing heavy equipment, prevent floor damage by using those aforementioned heavy equipment mats.
If you’re moving your equipment into a garage or basement, plan ahead for or prevent any moisture or debris so your workout space doesn’t get damaged, especially in the spring and winter.
Bonus: How To Make a Gym Out of Anything
Maybe you moved to a new home where you have less or more space than your previous one. Maybe you’re looking to use your space as a chance to redecorate.
Whatever the reason, I found there are secret ways to creatively — and safely — store all of your equipment without making your new space look like it’s accepting gym membership applications.
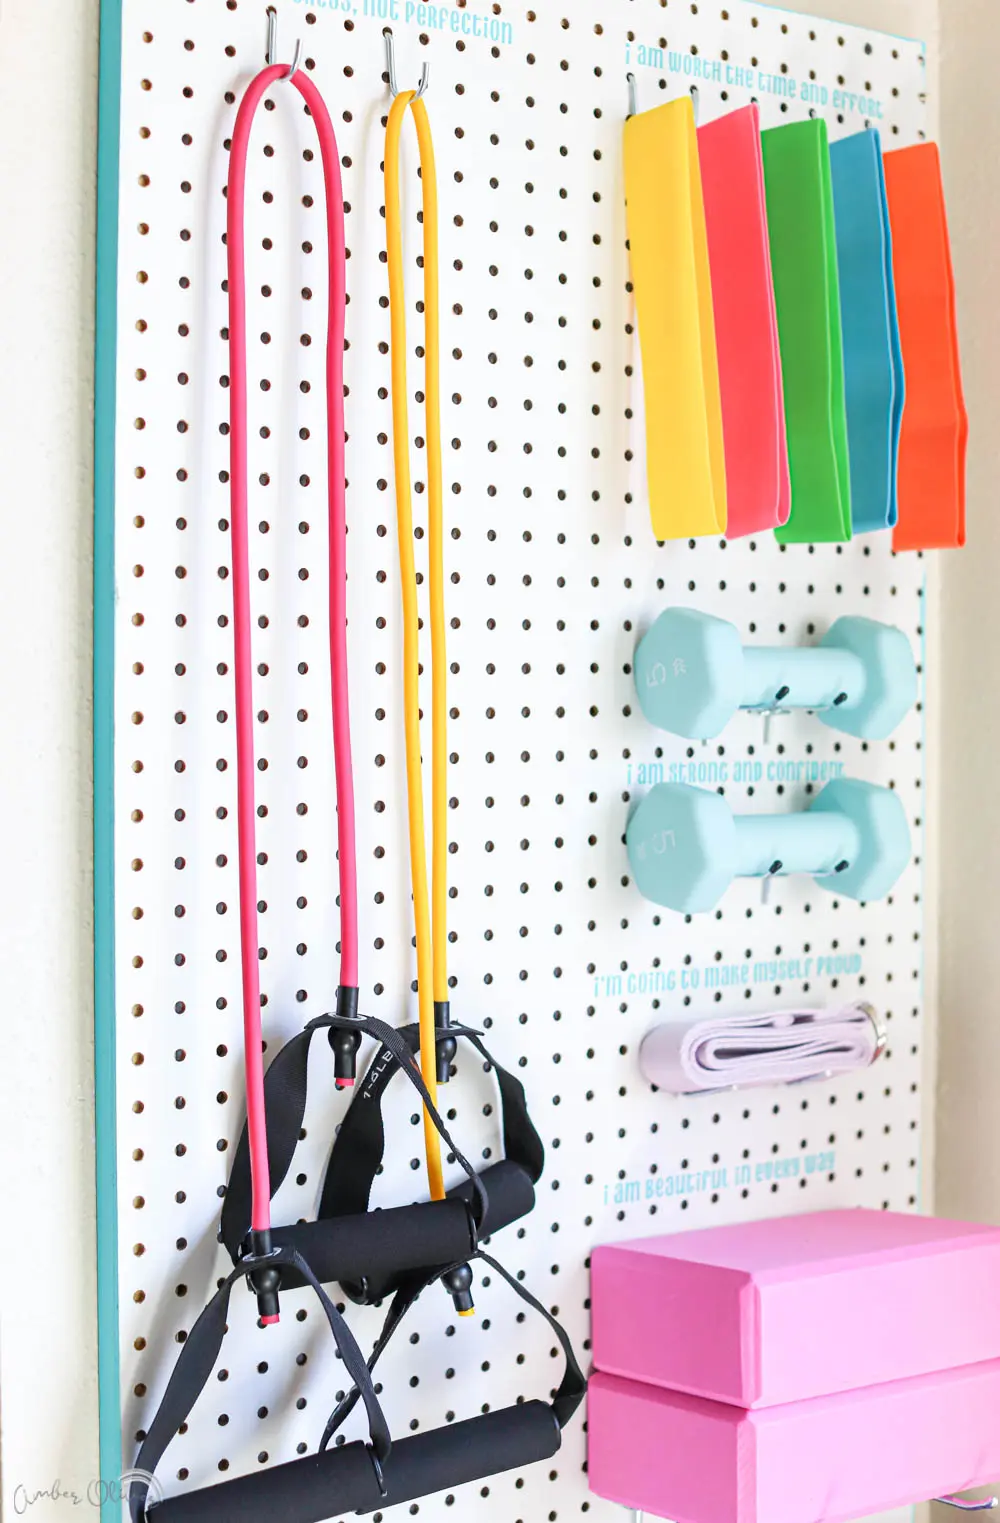
Peg Walls
Peg walls (or peg boards) are great for hanging lightweight barbells, resistance bands and ropes, jump ropes, yoga equipment, towels, and more. Keep in mind these are not ideal options for storing heavy-weight plates or kettlebells. (Heavy stuff like weights can be stored on a more traditional rolling storage rack, which I recommend so you can move it out of the way when you need to use your space for another purpose.)
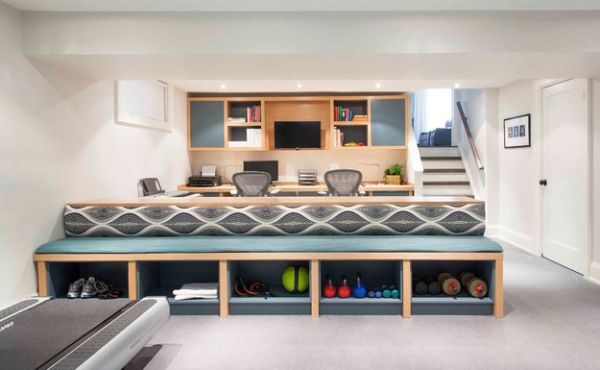
Cubbies
Cubbies can store a lot of your heavier equipment that needs to be close to the ground and out of major walking paths. Cubby-style storage can sneakily be a part of your couch or bed frame, or you can even get a cube-style bookcase that alternates between books and equipment (so stylish!).
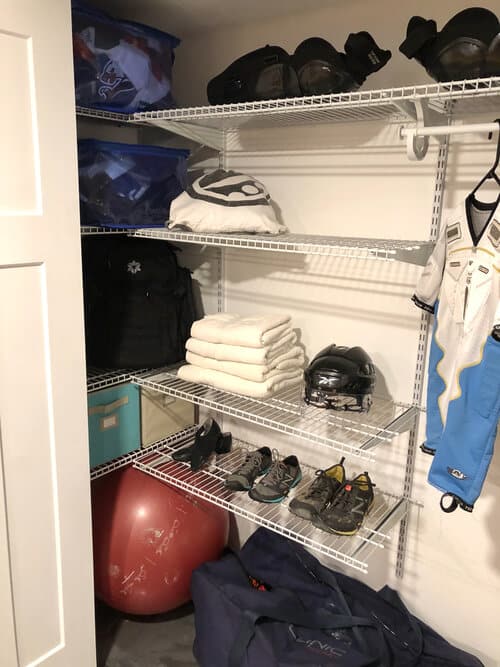
Built Closet Shelves
Closet shelves that you build are a natural choice for storing equipment. Installing wire racks or closet organizers can keep chaos at bay, but be sure to put your heavy equipment on the floor or lowest shelves.
Building a space specifically for weights and other gym items is what you need to do in order to prevent your regular shelves from breaking. This also helps prevent you from getting injured because you were forced to put a heavy weight up on a high shelf. (This is not how you want to get your reps in!)
Entertainment Center
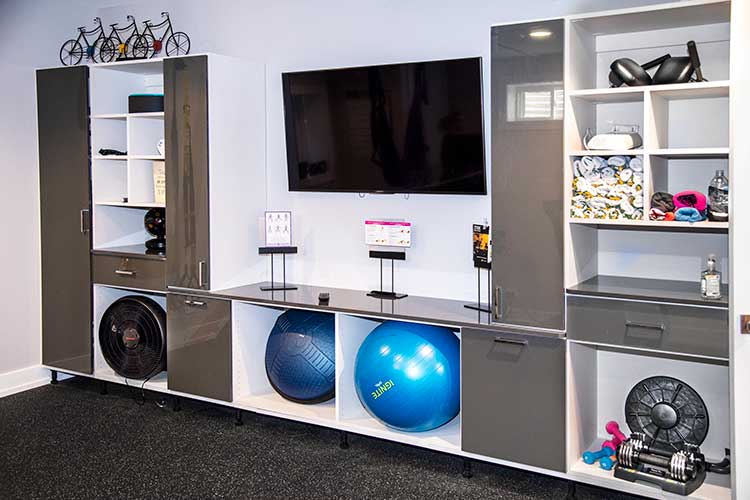
Entertainment centers, like bookshelves, can double as workout storage if you’re exercising in a living room or bonus room. Opting for a larger entertainment center with closet door features can help get equipment out of sight so you can comfortably use the space for entertaining. Plus, it just looks cool.
It might feel like getting home gym from one place to another is a workout all by itself, but it’s really no sweat! Just make sure your new space is good to go, you clean and secure the equipment you’re taking with you, and that you load it properly into your moving vehicle.
And if all of this stuff still seems like the wrong kind of exercise, keep in mind hiring hourly movers to disassemble, reassemble, and properly move heavy machinery is always an option!
The post How To Move (and Set Up) Your Home Gym appeared first on Moving Advice from HireAHelper.

